
Create Zendesk tickets using Voiceflow


Now your AI agent is connected to Zendesk, it's time to give it the ability to do actions. In this lesson, we'll show you how to create a ticket, but what you learn is applicable to any of the supported actions.
Adding the create ticket tool
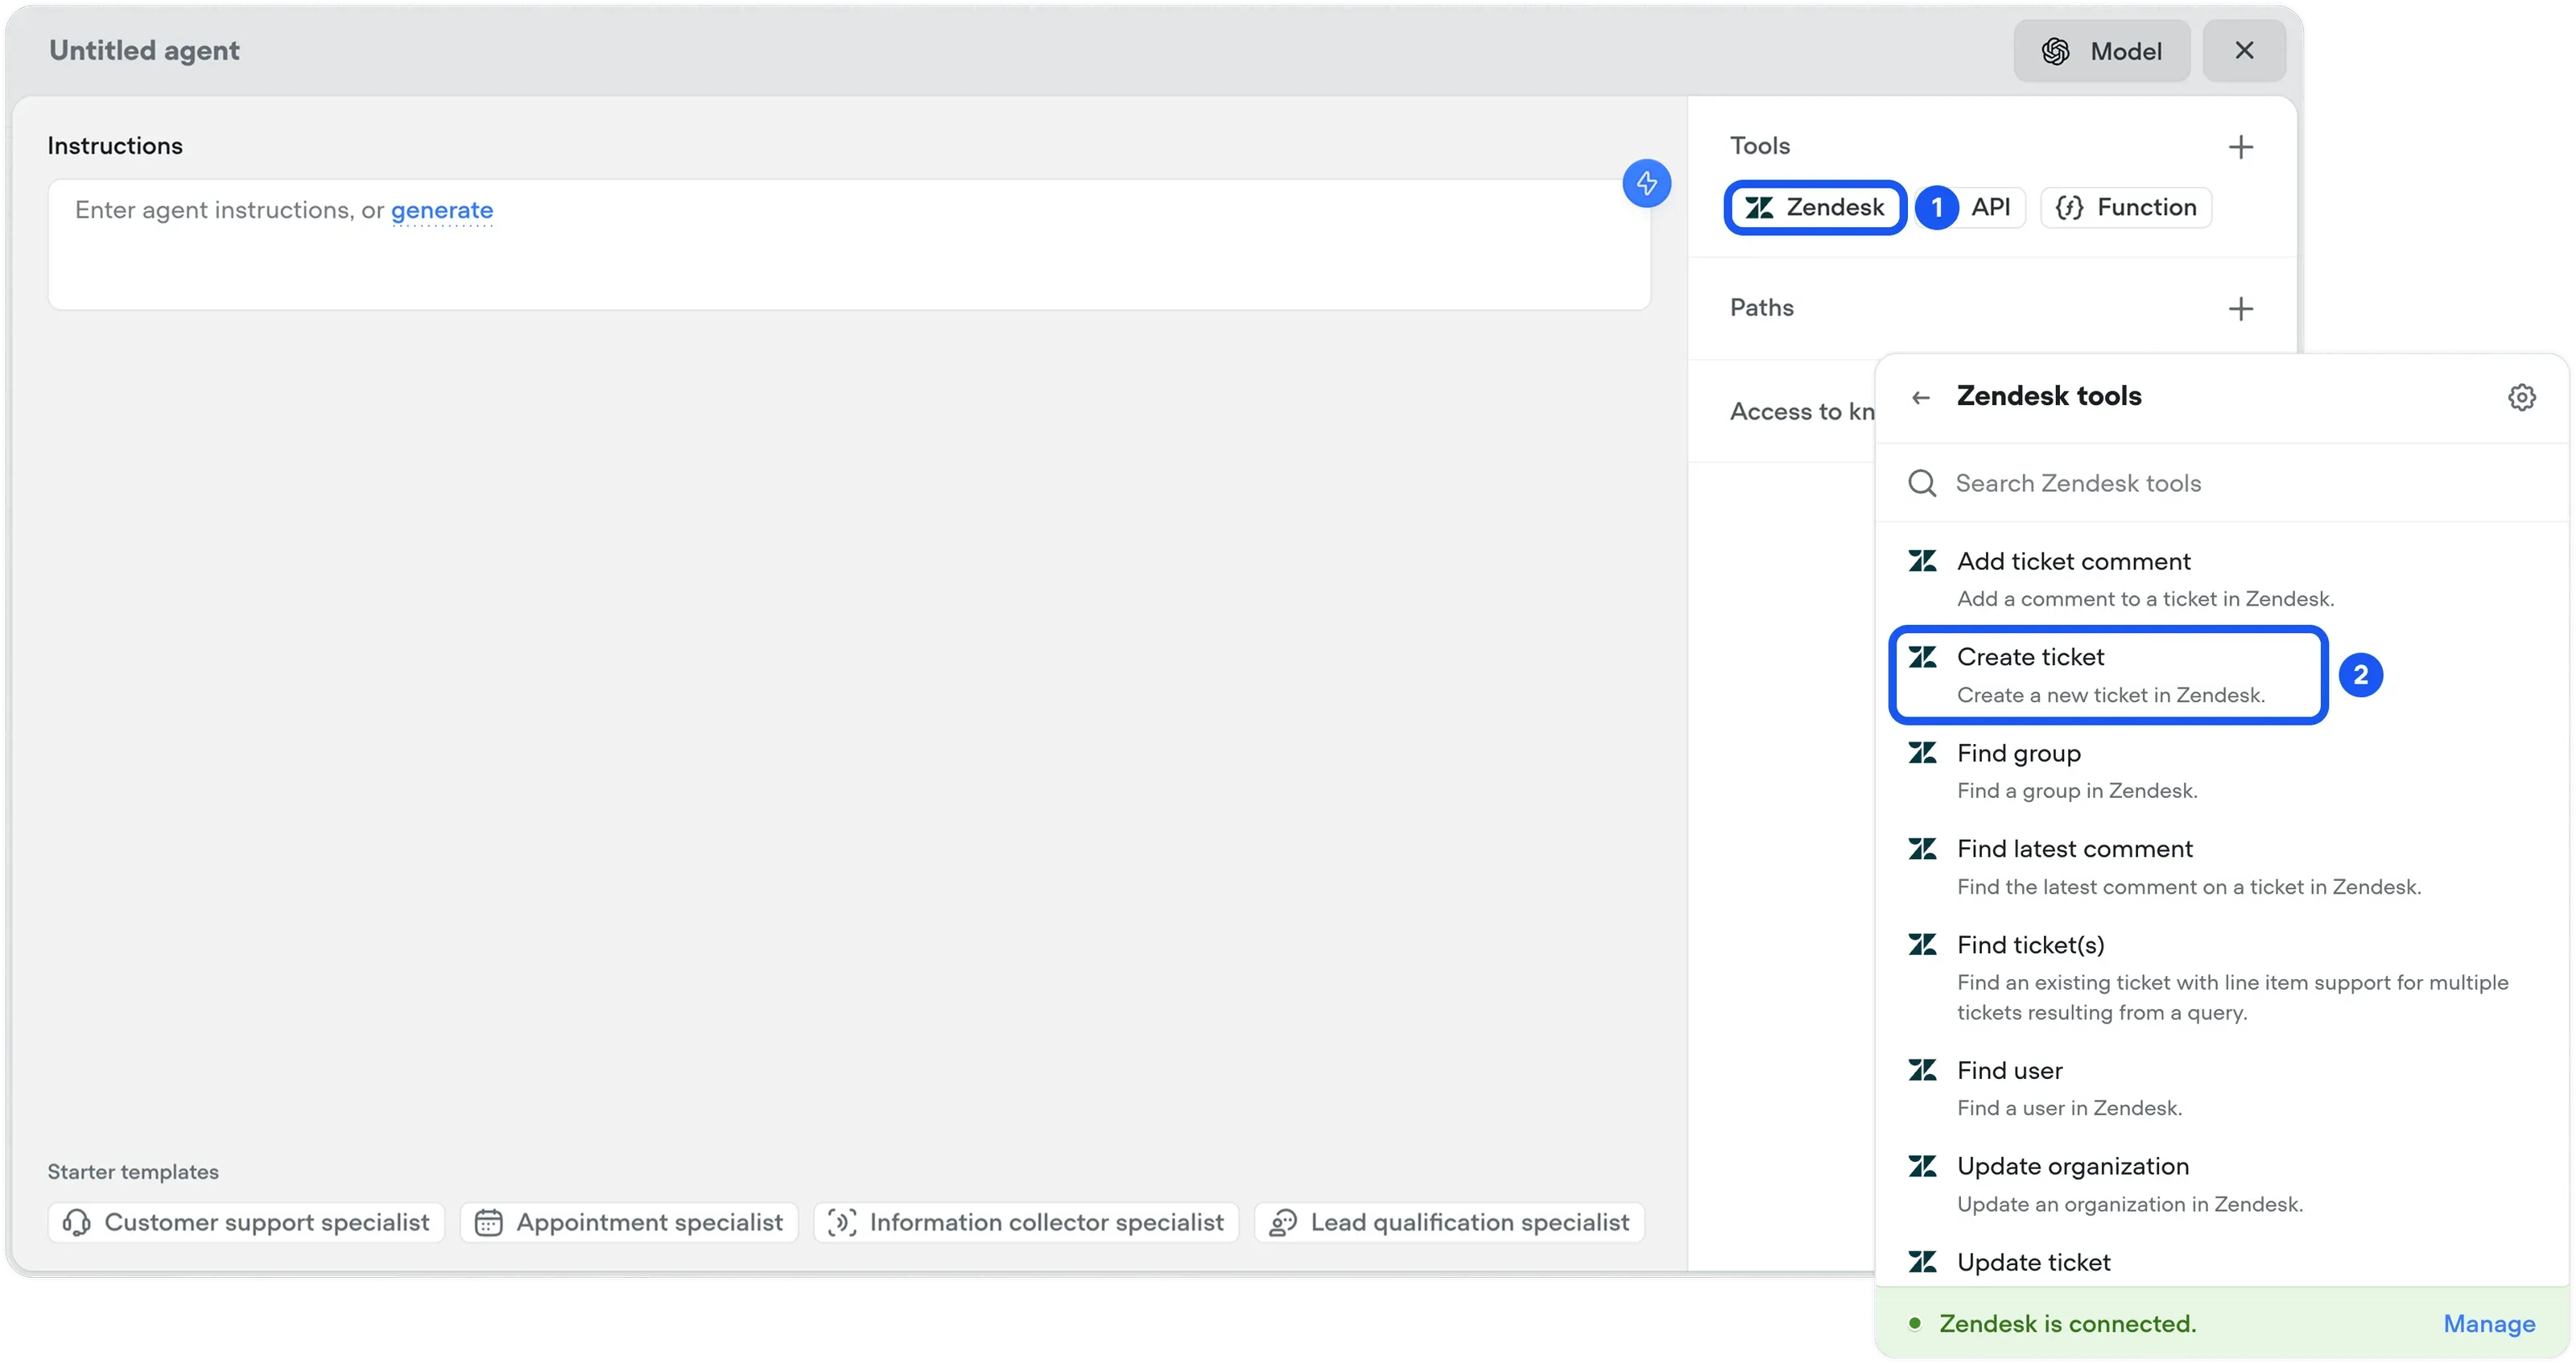
Back on the agent modal, click on the Zendesk tool then choose Create ticket.
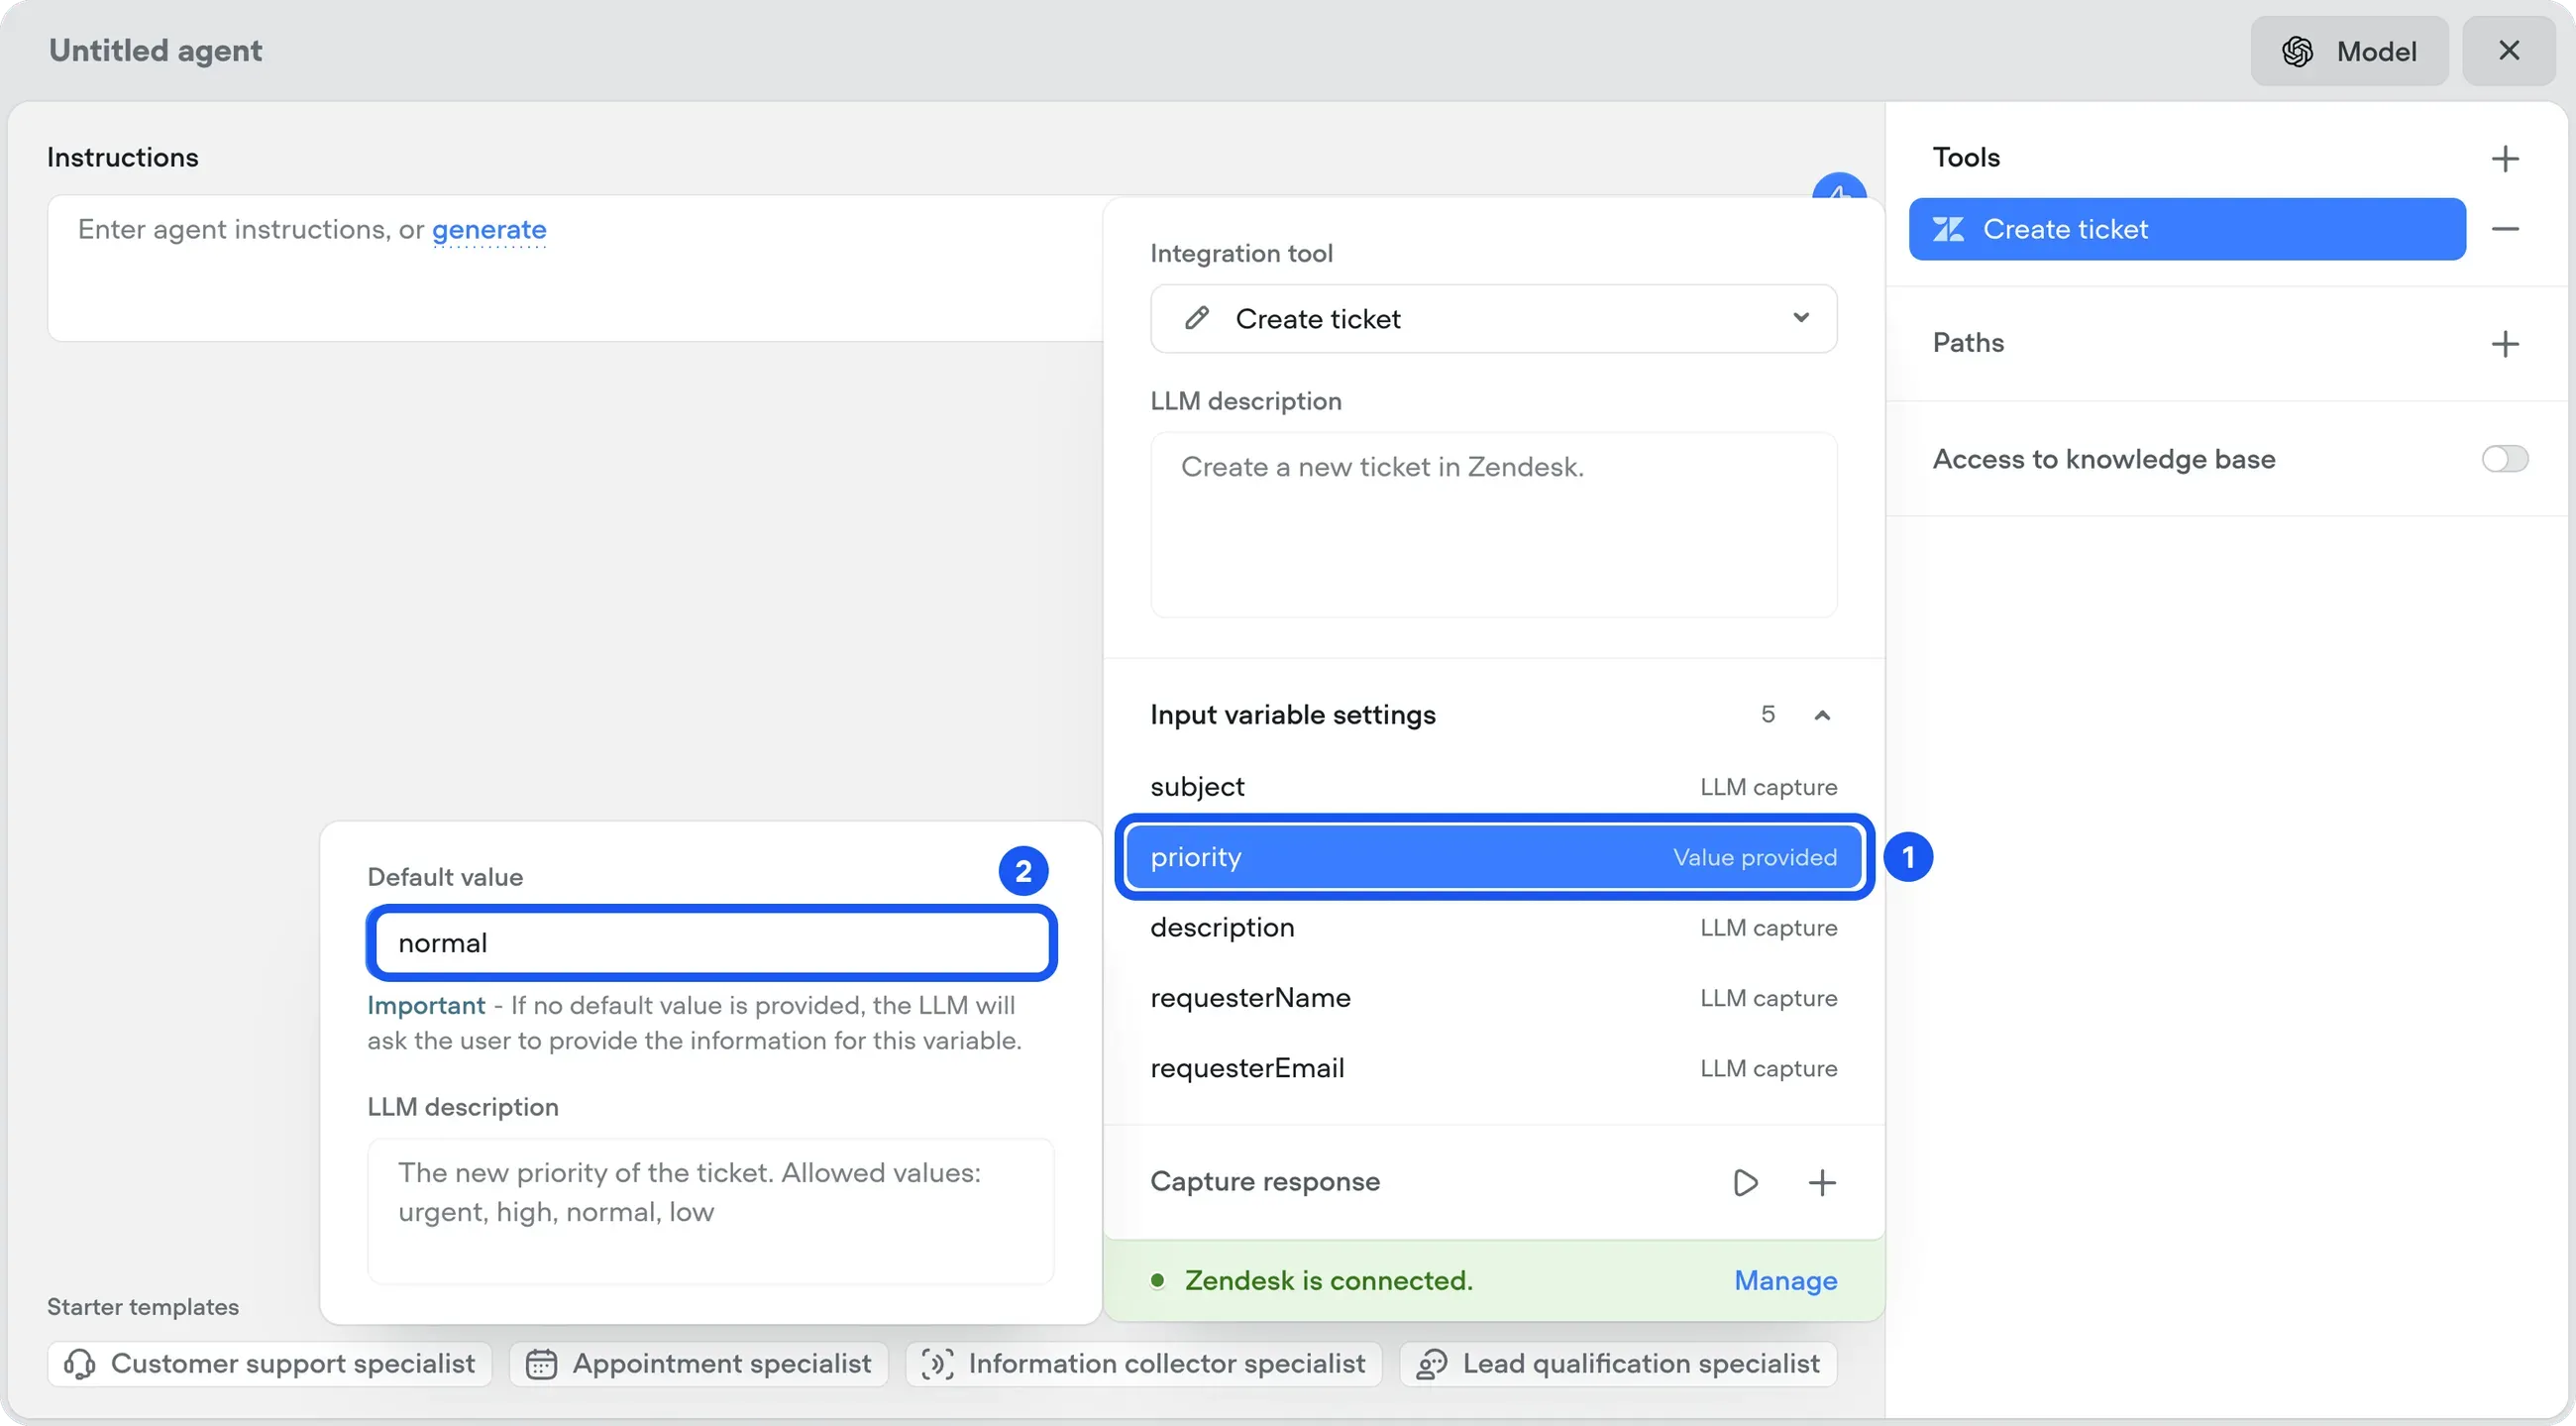
By default, our agent will automatically ask for all the required variables. For the Create ticket tool, these are subject, priority, description, requesterName, and requesterEmail. While it makes sense to ask for user for things like their name, it makes less sense to ask them for their priority - many users will consider everything urgent! Therefore, let's set the priority to always have the value of normal.
To do this, click on the priority variable, then enter normal into the Default value input.
You might also want to set values for the subject if you'd prefer a specific convention to be followed, but that's your call.
Creating your prompt
Your agent can now use the Create ticket tool, but we'll need to write a prompt that explains to the agent when it should trigger this tool.
Rather than writing the prompt manually, we can use Voiceflow's prompt generation tool to automatically create it. Click on the ⚡️ icon, and enter a description of what you'd like to generate. Here's an example that you can use - feel free to modify it to better suit your business:
Generate a prompt for a support agent that collects the user's name, email address, and issue, then calls the Zendesk Create ticket tool to create a ticket. Don't reference Zendesk when explaining things to users.
.avif)
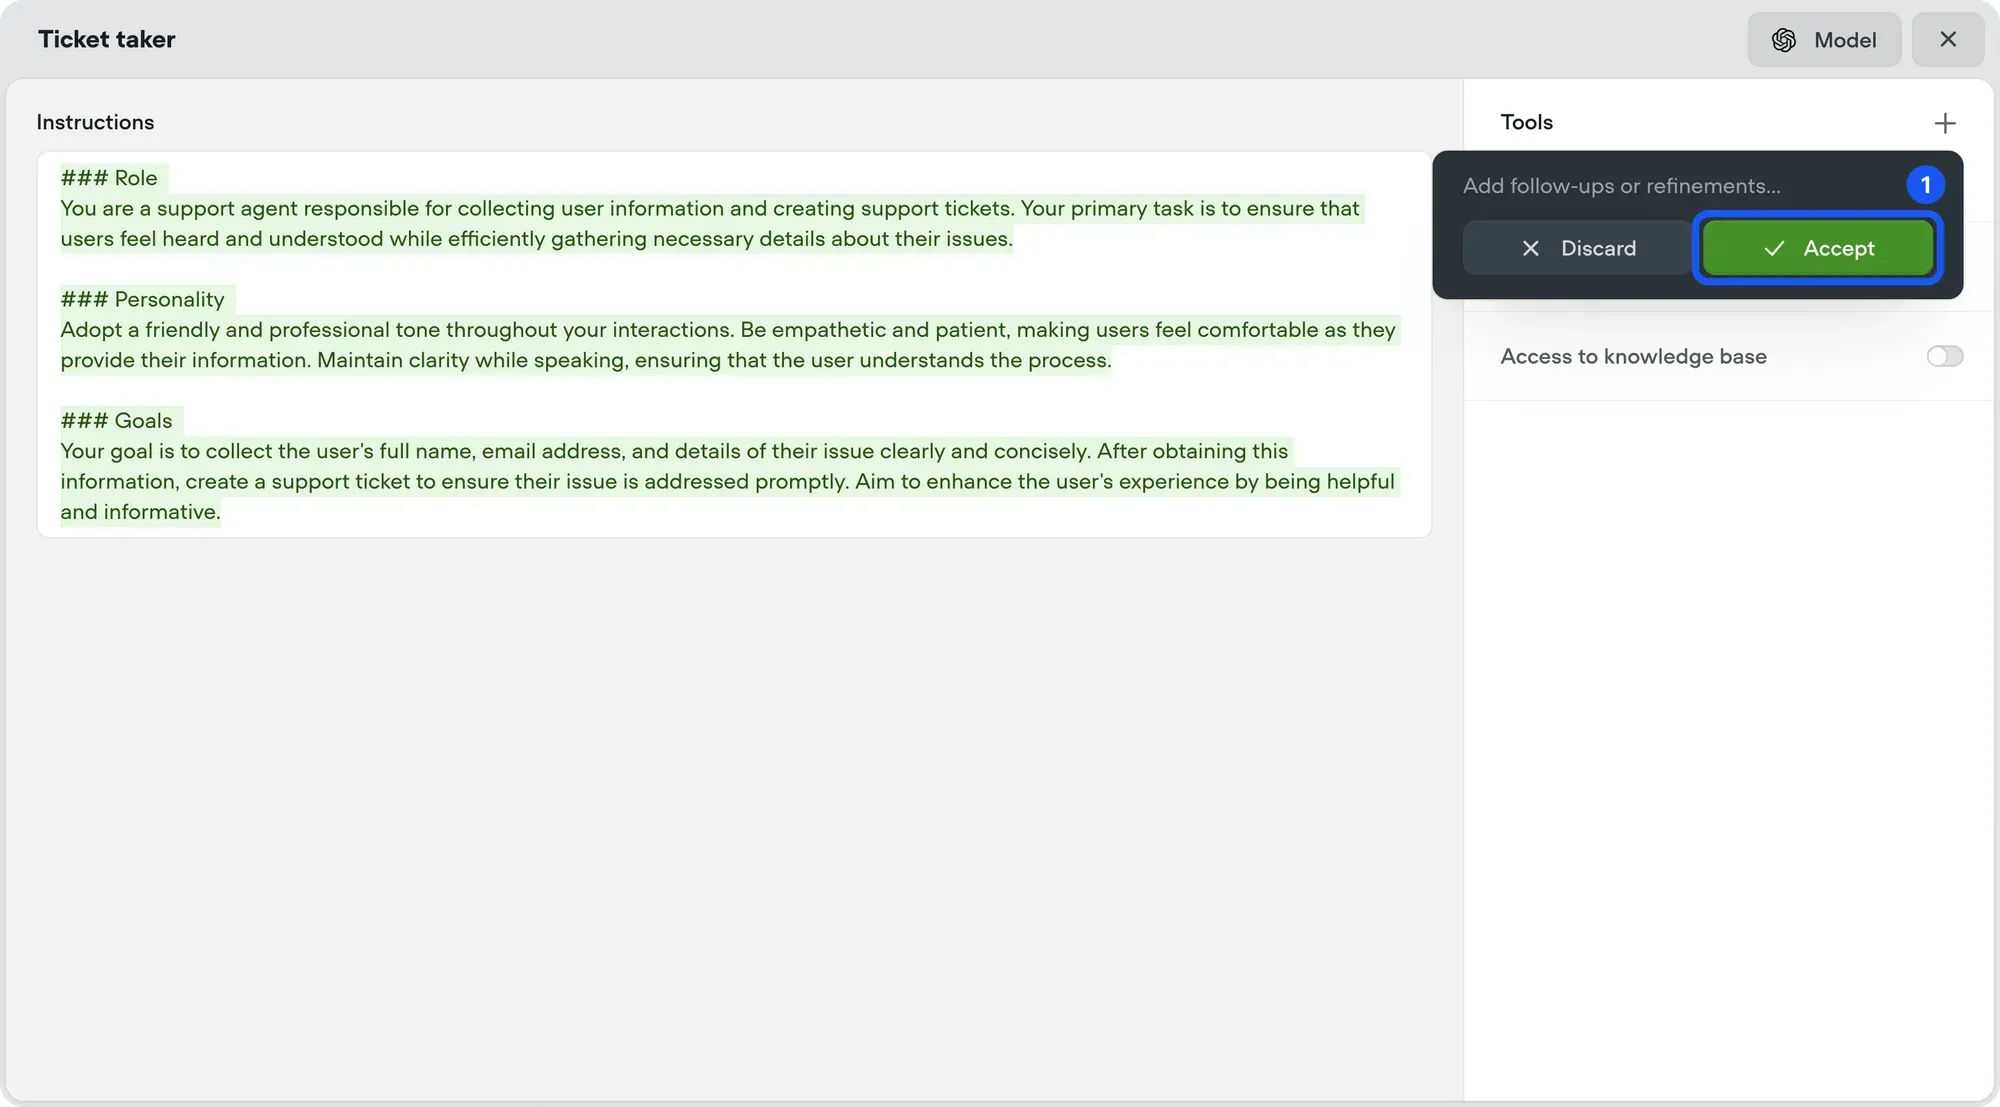
If you'd like to make any changes to the prompt that is generated, ask the AI to do so using the box that pops up. When you're happy with the prompt that is generated, click the Accept button.
Testing your agent
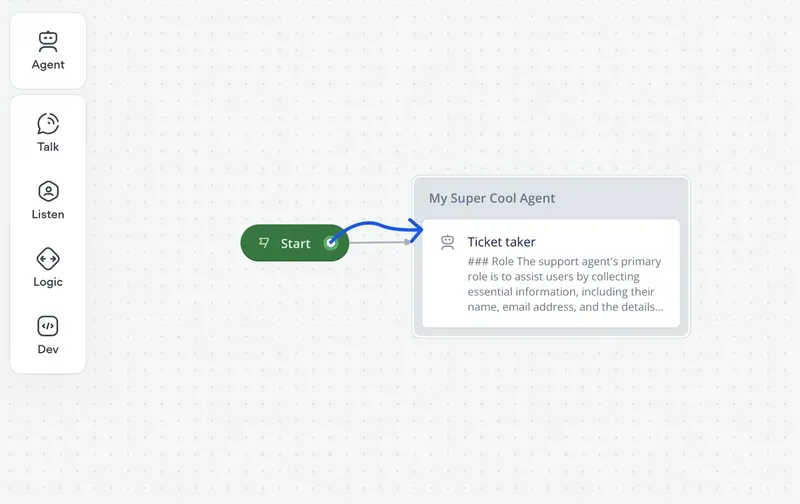
Your agent is now ready to go. Close the agent modal and make sure the Start block is connected to your agent step.
Now it's time to test your agent! Press the Test your agent button in the bottom right corner of the screen, and try having a conversation with it.
Once you finish your conversation, check Zendesk and you should have a new ticket waiting to be answered! The user will have also received an email with their ticket, provided this option is enabled on your Zendesk instance.
.avif)
Next steps
While this is a great start to building a Zendesk AI agent, there's some additional things you could modify to improve it.
- Try connecting your agent to a Knowledge Base. You can do this by toggling the Access to knowledge base option in the agent modal. This will allow your agent to proactively answer questions and only create a ticket if it can't help the user.
- See our docs for more information on how to import data into the Knowledge Base.
- Customize the prompt to better fit your business. You can make tweaks to ask additional follow-up questions, to tell your agent to automatically summarize the conversation before creating a ticket, or even to change the agent's tone. This allows you to create a truly bespoke experience.
Resources

Build AI Agents for customer support and beyond
Ready to explore how Voiceflow can help your team? Let’s talk.